Build one kill zone
Stack damage, control, and hero presence around the path segment enemies share longest. Upgrade this zone first, then add side-lane insurance only when a specific wave proves it is needed.
Tower Rhythm
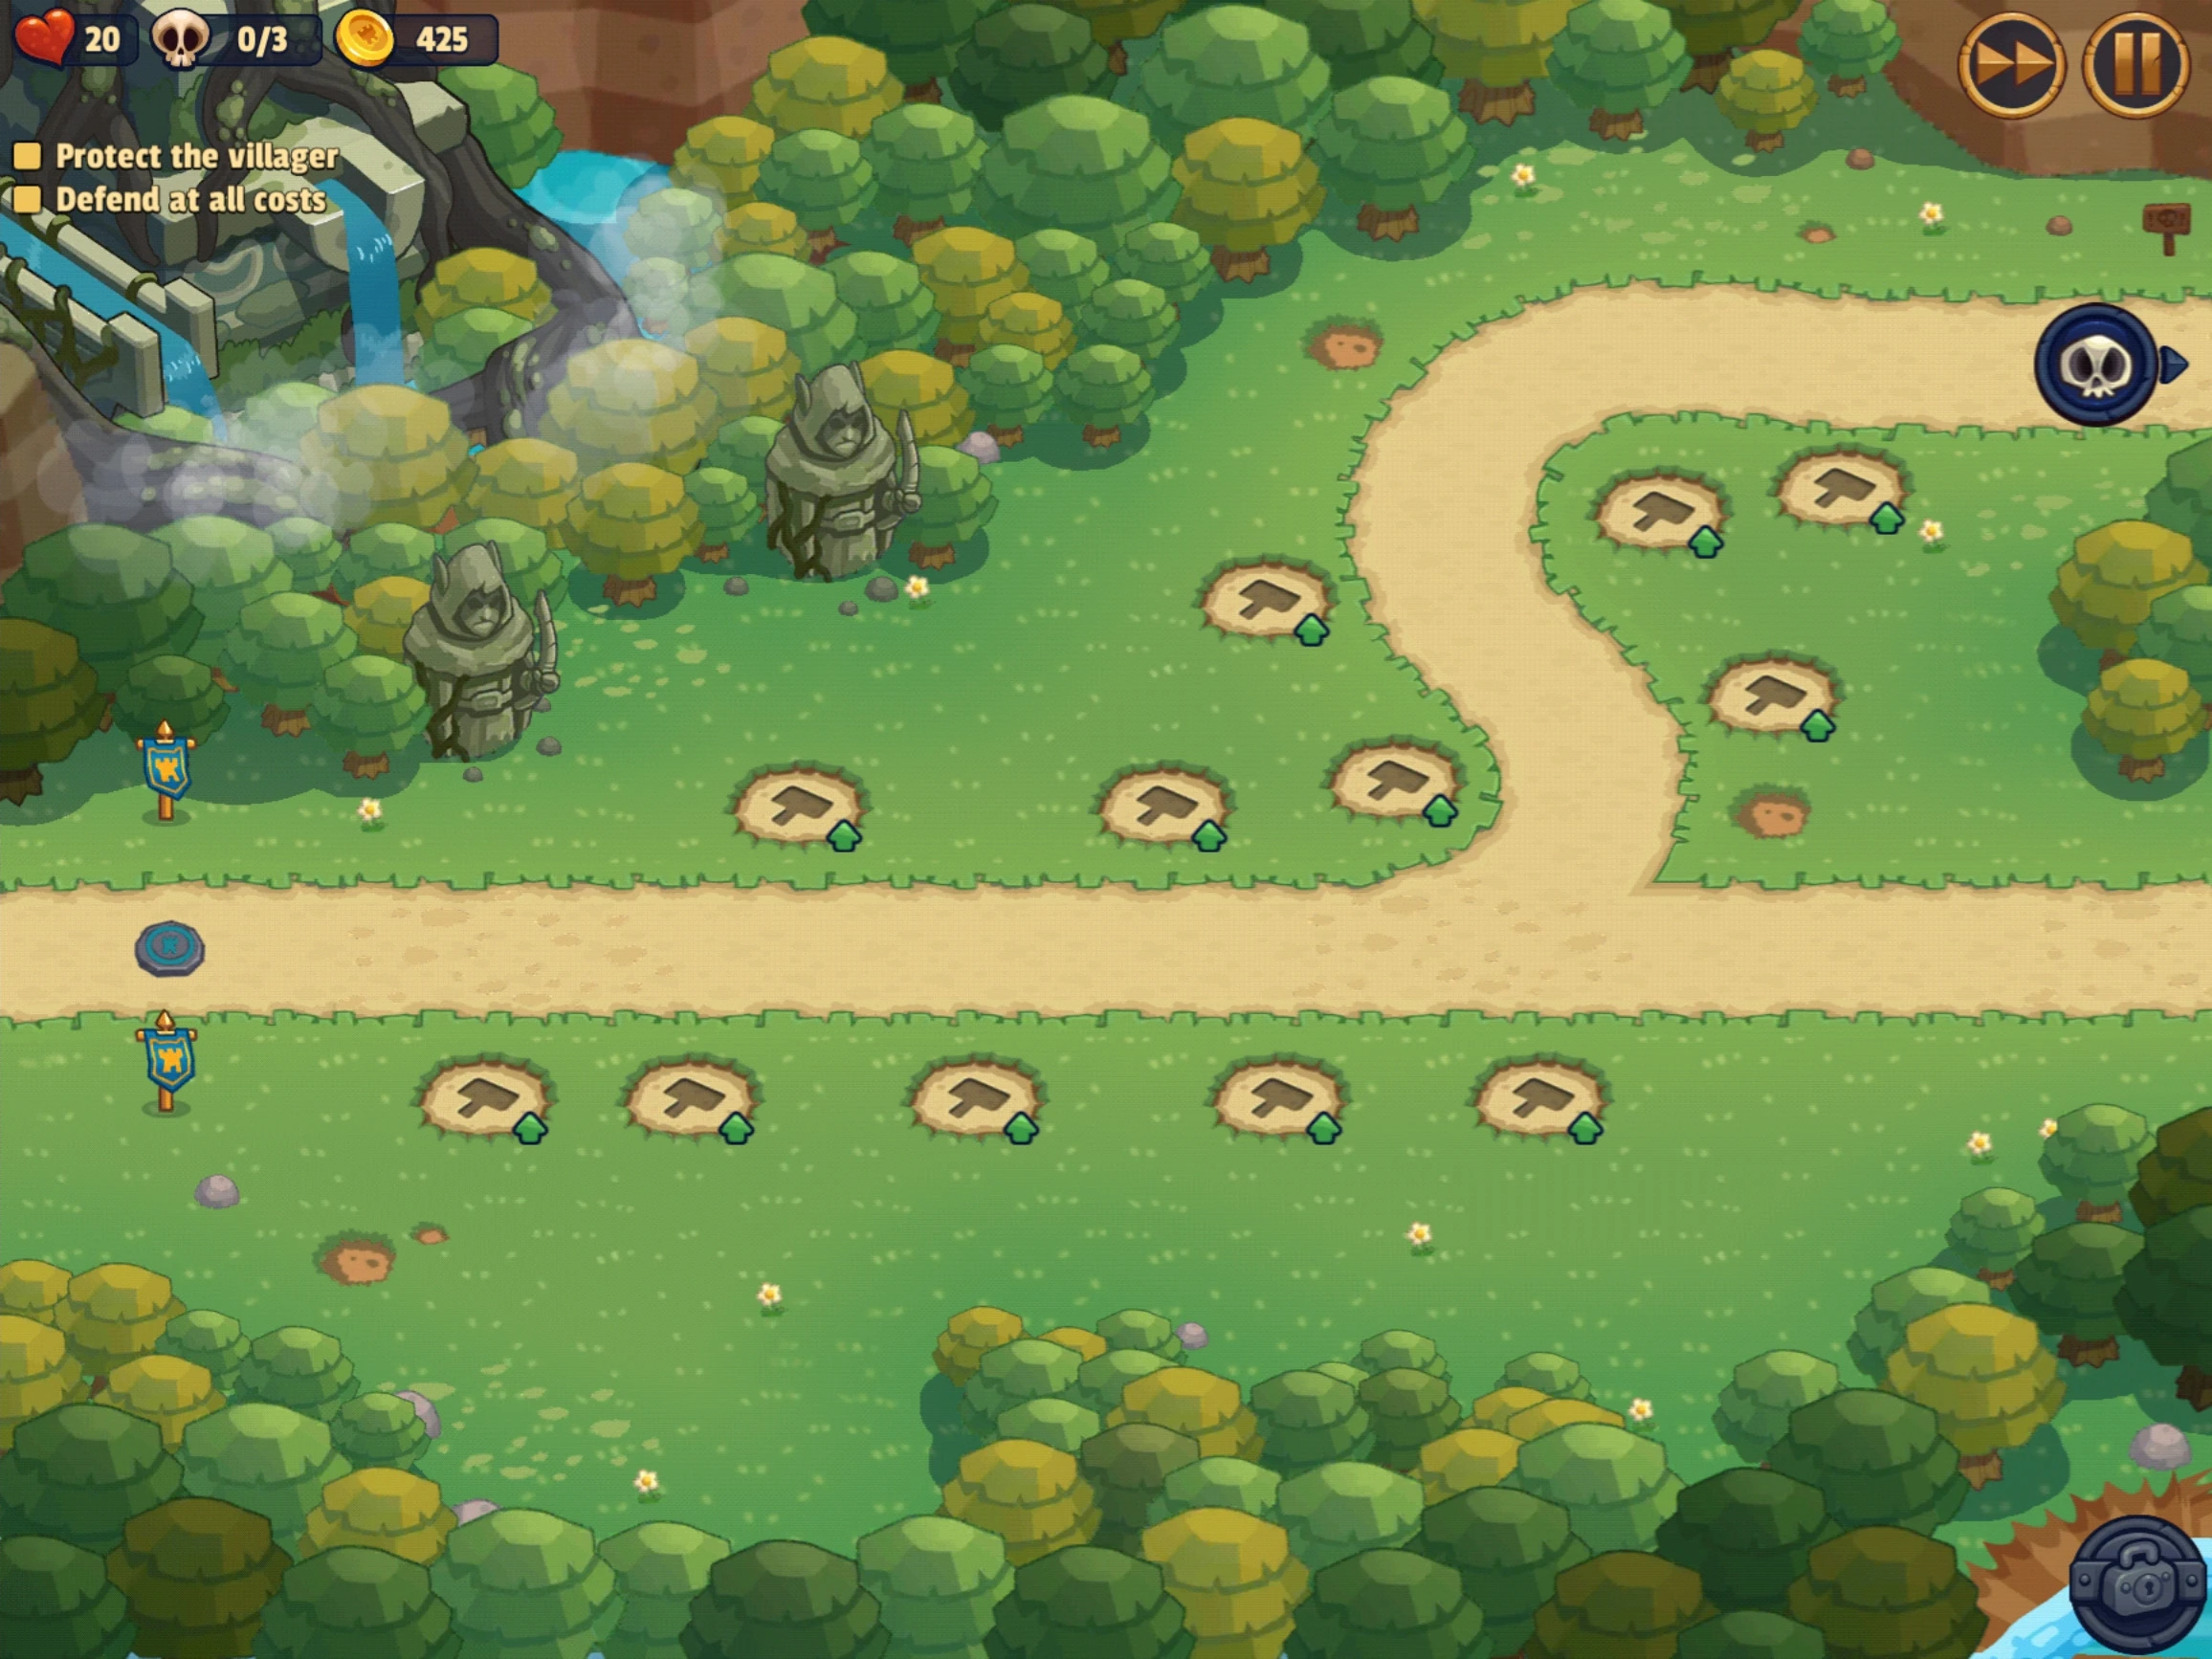
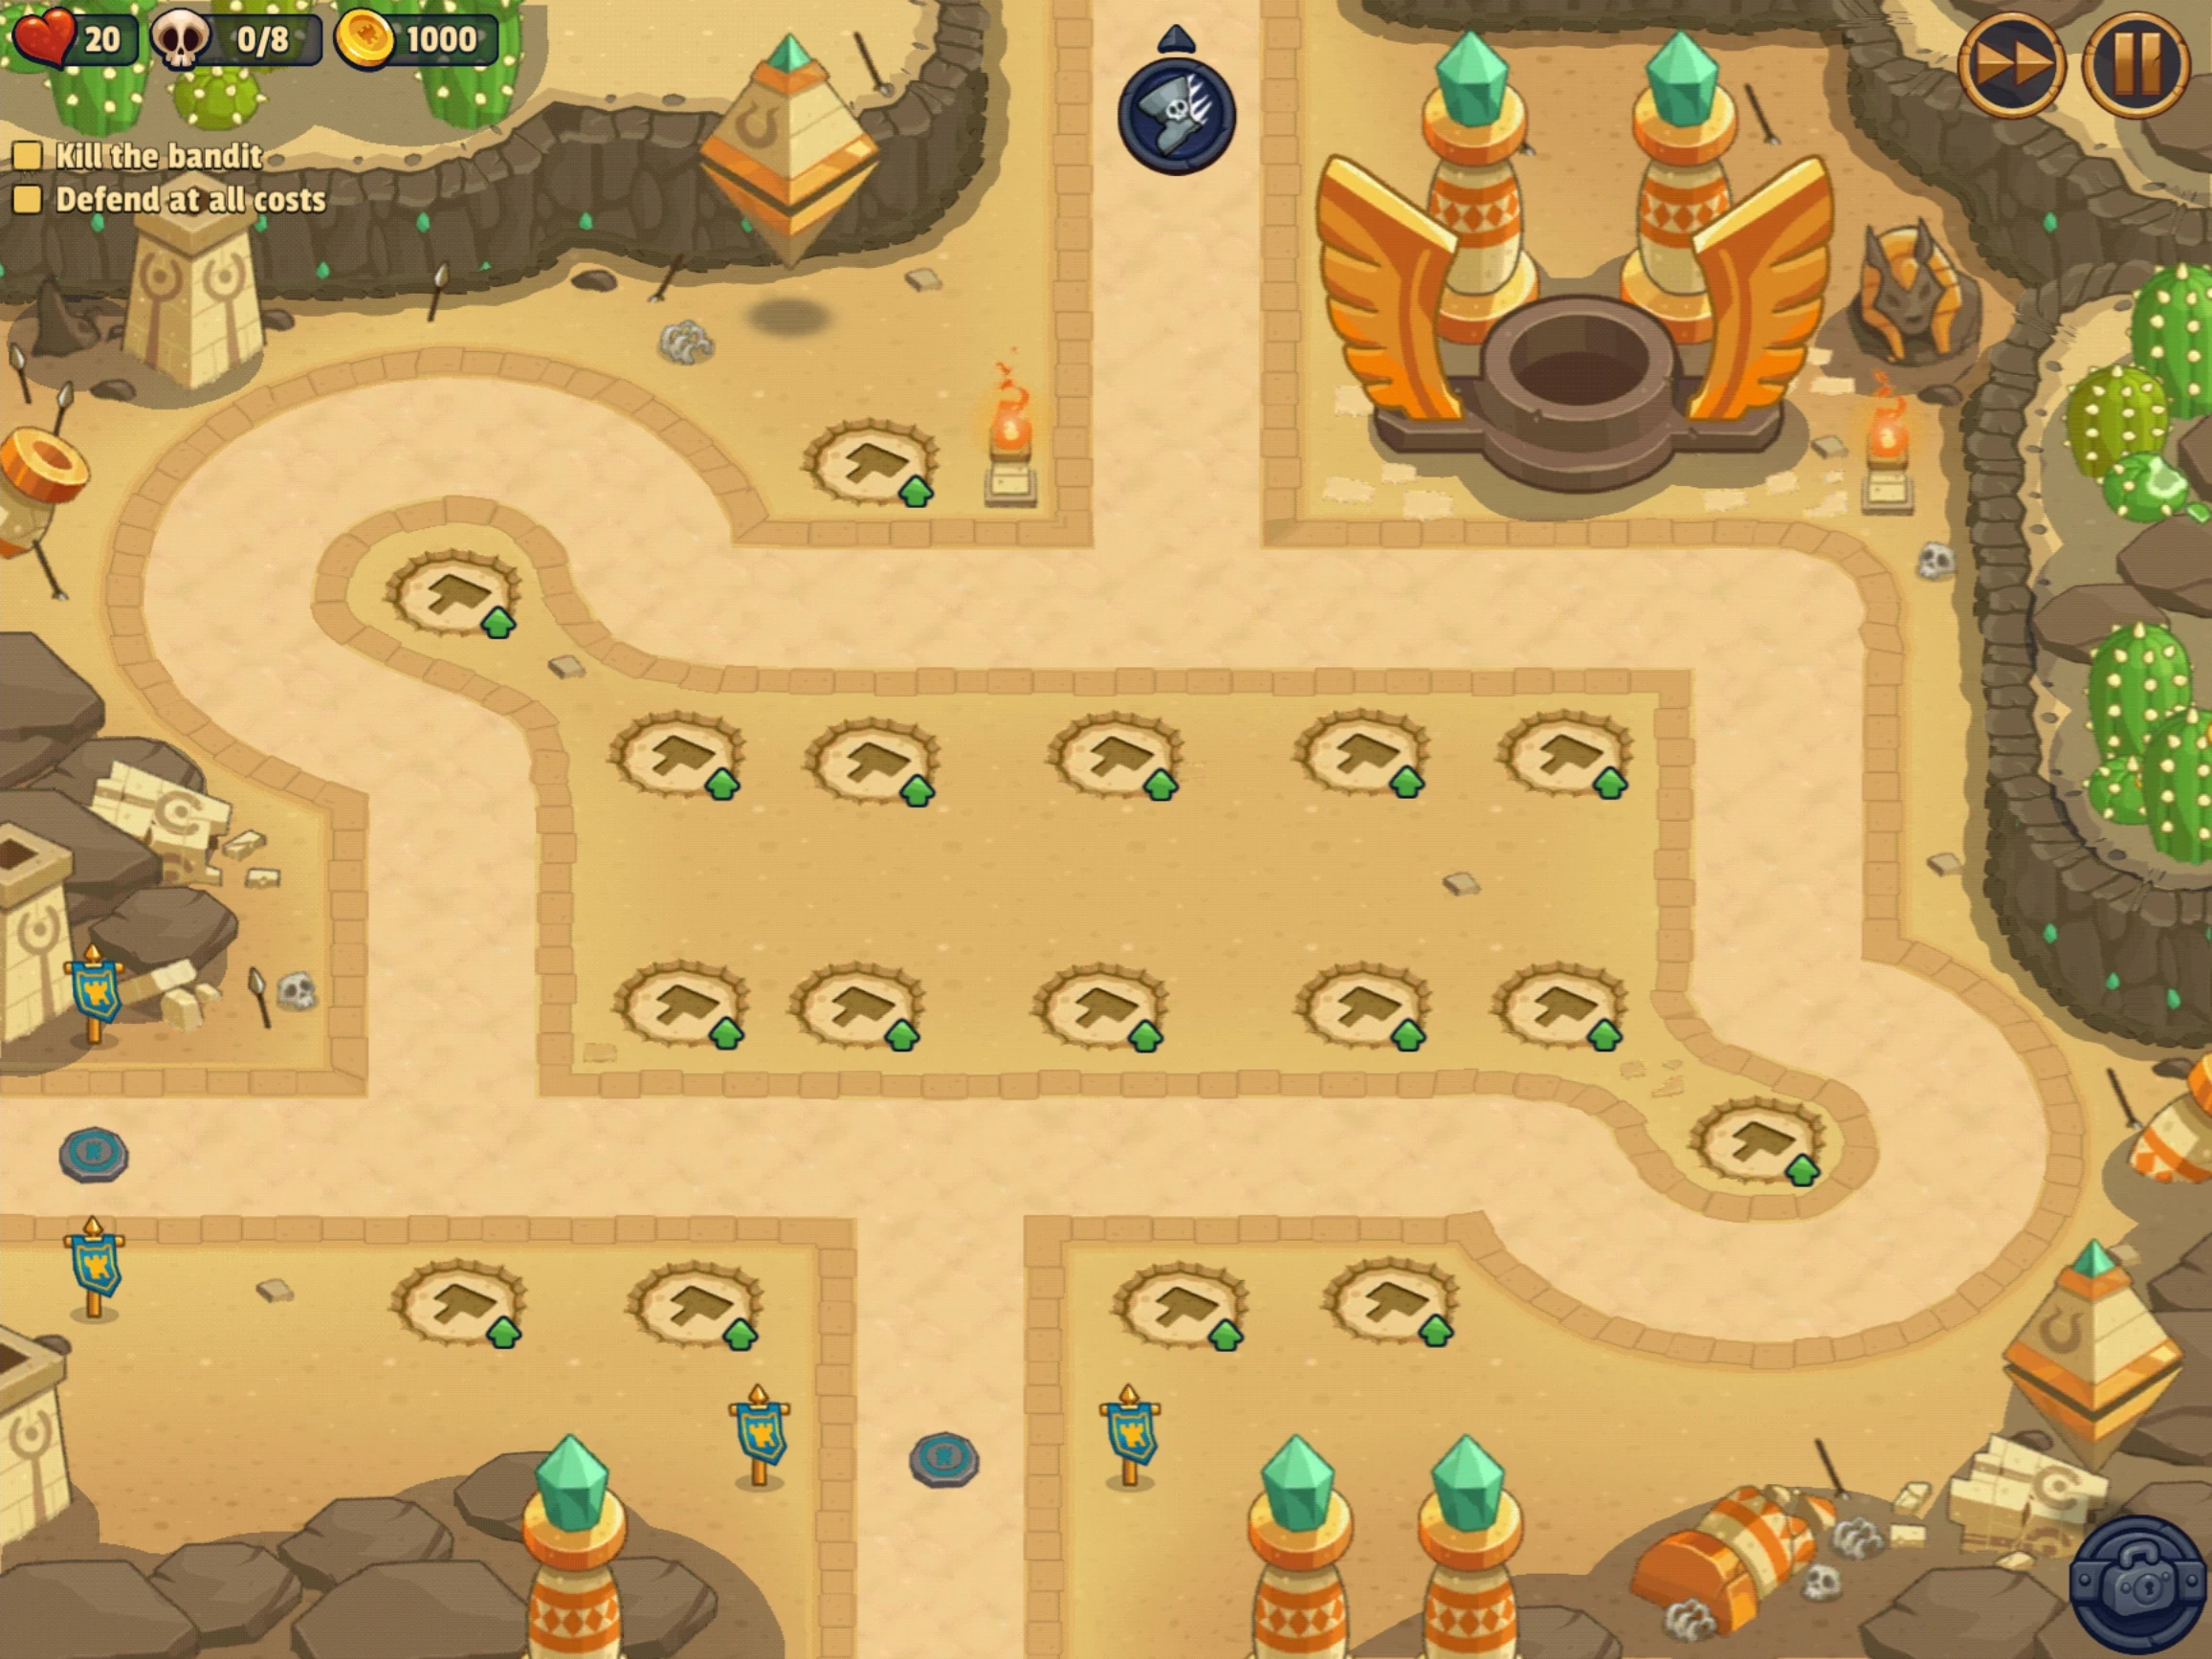
Each world has different tower mechanics. First define the main kill zone, then spend gold where enemies stay in range longer.
Tower Planning Notes
Realm Defense rewards tower placement discipline. A fully upgraded tower in the wrong lane often performs worse than two modest towers placed where enemies are slowed, blocked, or forced through a long curve.

Stack damage, control, and hero presence around the path segment enemies share longest. Upgrade this zone first, then add side-lane insurance only when a specific wave proves it is needed.
Flyers ignore many ground-control plans. Before investing in melee blockers, check whether the wave table or map image suggests air pressure, then reserve gold for towers and heroes that can reach those paths.
Expensive upgrades should answer a visible threat. If the next wave is light, keep gold flexible; if a Boss or armored pack is coming, commit to the tower that stays in range for the longest damage window.
Advanced Tower Guide
A strong tower plan answers three questions before the first wave: where enemies stay in range longest, which wave can bypass the main zone, and which tower upgrade changes that failure. The best gold spending is usually concentrated, delayed, and tied to a specific threat.
Open with cheap coverage that reveals the map's pressure. If early enemies die comfortably, hold gold instead of upgrading immediately. Saved gold lets you react to flyers, fast runners, or armored packs without selling a mistaken tower.
Slow, teleport, fear, stun, summons, and blocking multiply every damage tower nearby. When enemies leave range too quickly, adding raw damage often fails; first make the path longer with control, then upgrade the tower that benefits most.
The exit should not be your main investment, but it needs a small safety layer. One blocker, fear source, anti-air tower, or hero skill near the back can save runs while most gold remains in the stronger central zone.